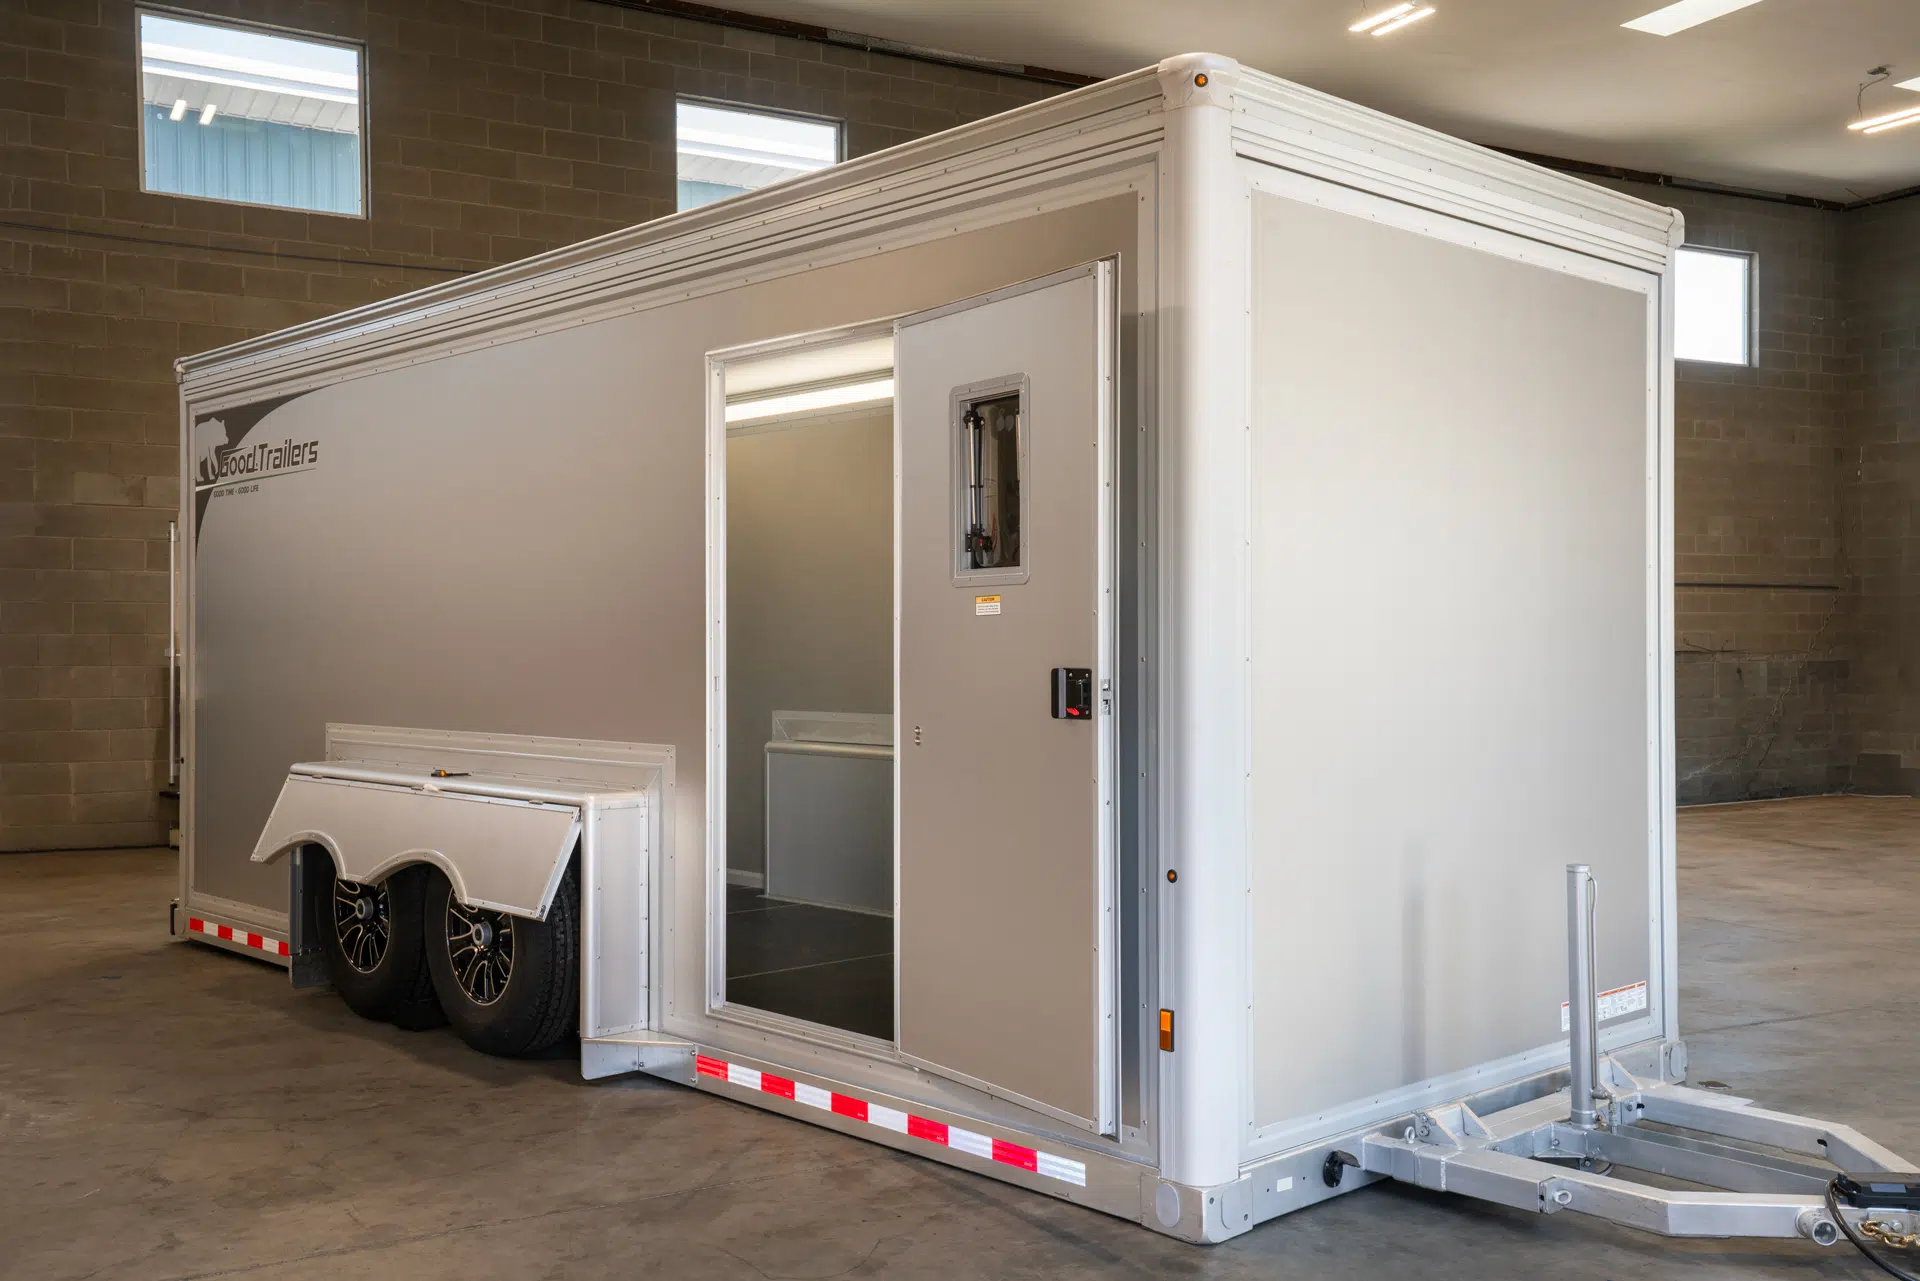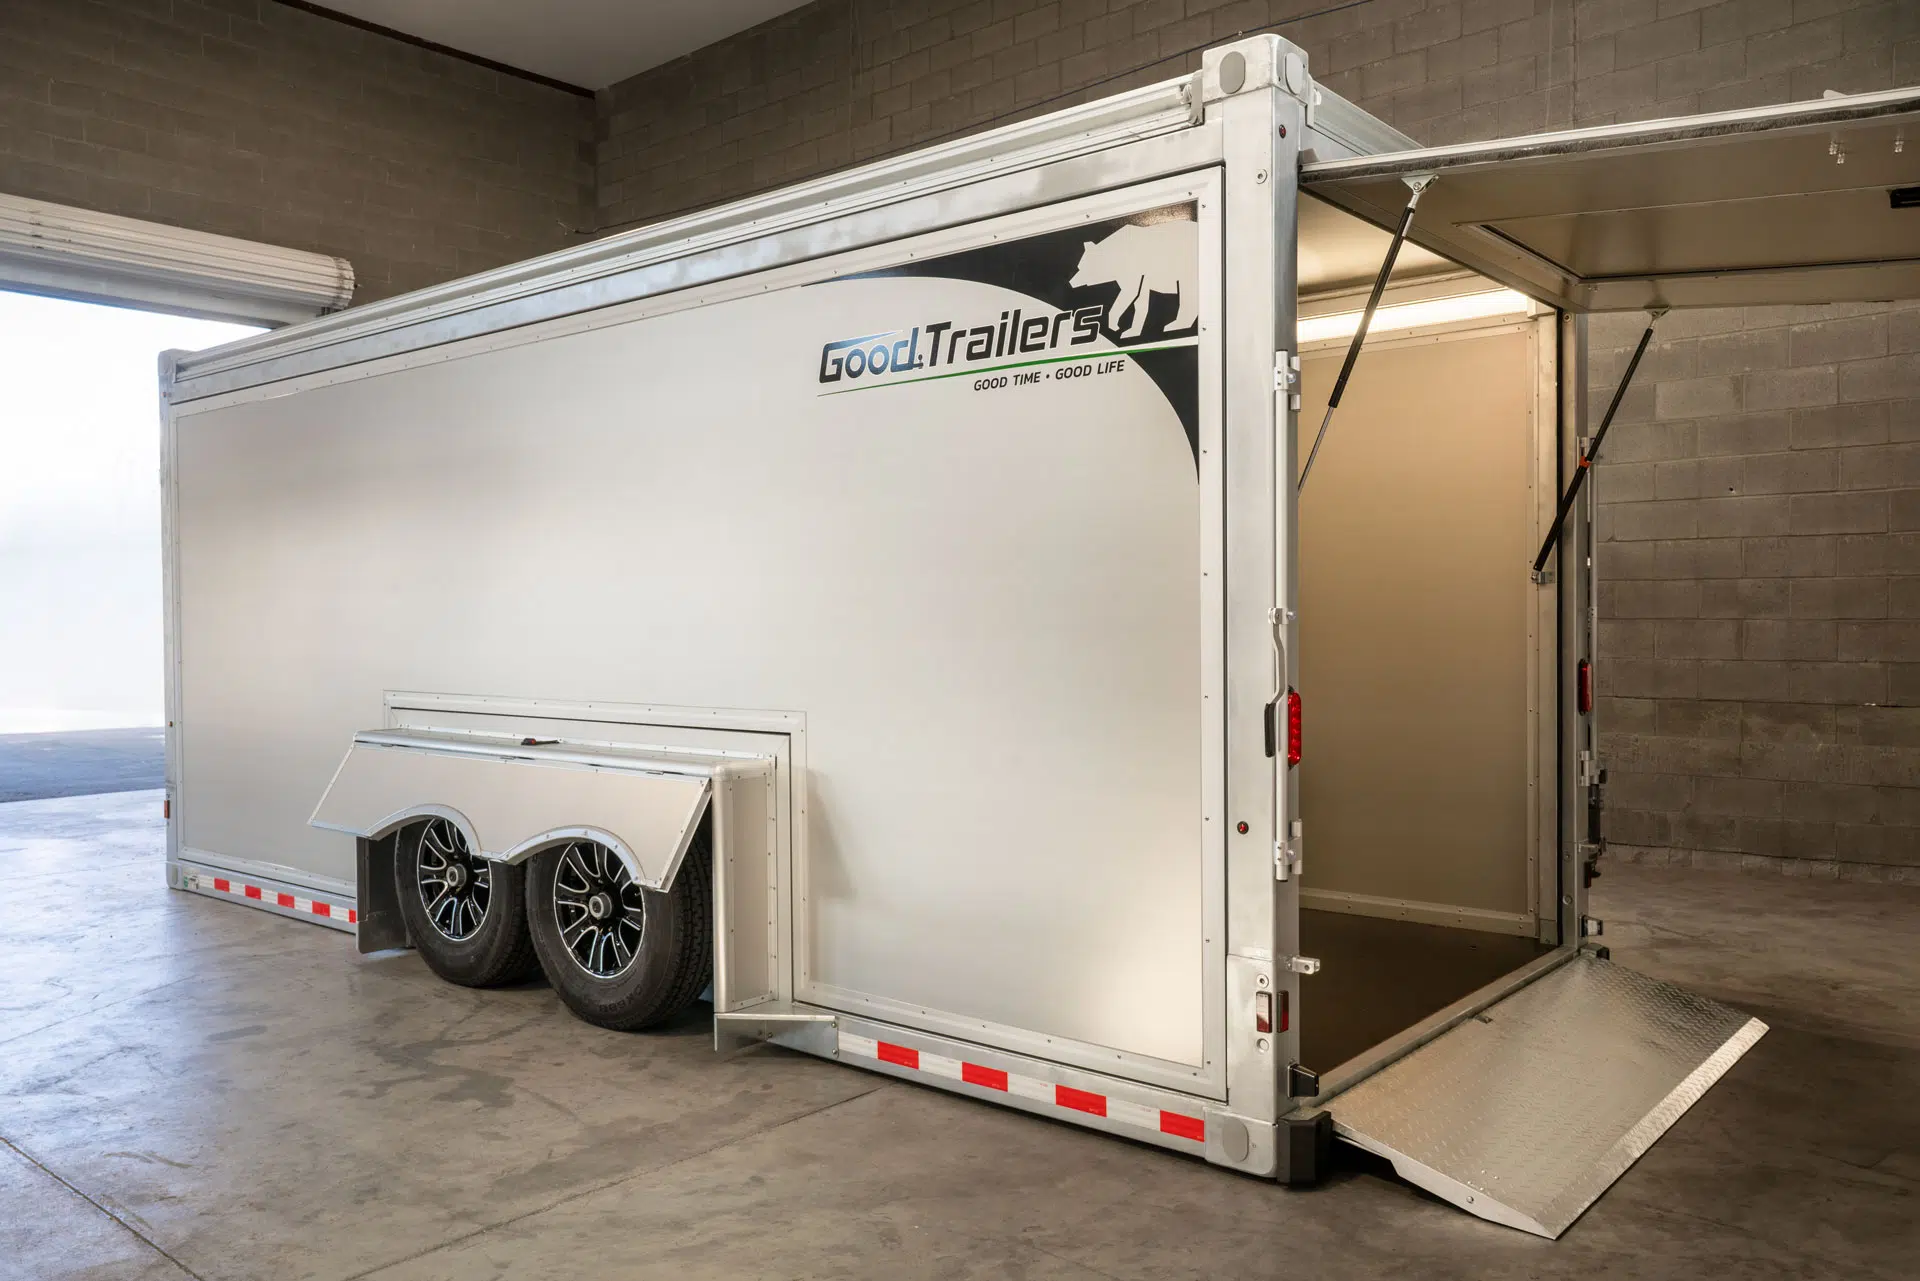
Hooking up Good Trailers starts with making sure the tow vehicle, hitch, ball, coupler, safety equipment, and trailer are all ready for the road.
If you’re new to towing, the number of connections and safety checks can look like a lot at first. The good news is that the process becomes familiar pretty quickly once you understand what each piece does.
This guide walks through the basic hookup sequence for a Good Trailer. It is intended as a practical companion to the current Good Trailer Owner’s Manual, not a replacement for it. Always follow the most recent manual supplied by GoodMFG® for your trailer.
Table of Contents
Start With the Tow Vehicle
Before hooking up Good Trailers, you should make sure the tow vehicle and towing equipment are appropriate for the trailer you intend to pull.
The Good Trailer Owner’s Manual requires the tow vehicle, hitch, and hitch ball to have rated towing capacities equal to or greater than the trailer’s Gross Vehicle Weight Rating, or GVWR. The hitch ball must also match the coupler size.
Check:
- Tow vehicle towing capacity
- Hitch rating
- Hitch ball rating & size
- Trailer GVWR
- Electrical connections
- Brake controllers, when required
Before coupling, inspect the hitch and ball for wear, corrosion, cracks, looseness, or other damage. Replaced damaged hitch components if you see them. You should also confirm the hitch ball is tightened properly before towing.
What to Check Before Hooking up a Good Trailer
Good Trailers have a few components that deserve special attention before you connect to the tow vehicle.
First, make sure the hydraulic suspension is fully raised into its towing position. Stow your hydraulic remote control.
Check the trailer is sitting securely while you prepare to hitch it.
If the trailer has been lowered for loading or unloading, get it raised before attempting to hitch or tow.
Special Considerations: The Folding Tow Bar
If you fold your tow bar into the upright position when the trailer is not being towed then you’ll need to take the time to make sure it’s lowered into its road position. Check that all hinge pins are installed and all locking cotter pins are in place before you tow.
Never tow the trailer with the tongue partially folded, unsecured, or missing its locking hardware.
During your final walk-around, you’re going to want to check those pins again.
Align the Tow Vehicle With the Trailer
Position the tow vehicle so the hitch ball is as close as practical to the trailer coupler.
A rearview camera can make this easier. A spotter can also help when visibility is limited.
Use the trailer tongue jack to raise the bottom of the coupler high enough to clear the hitch ball, and place the coupler in its open position before backing the vehicle underneath it.
Move slowly.
If the ball and coupler do not line up, reposition the tow vehicle rather than trying to force the connection.
Lower and Lock the Coupler
Once the hitch ball is positioned beneath the coupler, use the tongue jack to lower the trailer tongue until the coupler fully engages the ball.
Then:
- Engage the coupler locking mechanism.
- Insert the appropriate pin or lock through the locking mechanism.
- Confirm that the coupler is fully seated on the hitch ball.
- Use the tongue jack to verify the connection.
Check the coupler. After the coupler is locked, used the jack to raise the rear of the tow vehicle by approximately one inch. If the coupler is properly engaged, it should remain securely connected to the ball. Do not raise it any higher! One inch is enough to be sure your hitch up is roadworthy.
It goes without saying that if you can’t get the coupler connected correctly that you shouldn’t tow until you figure out what’s wrong.
Retract the Tongue Jack
Once coupling is verified, lower the tongue again until the trailer’s tongue weight is fully supported by the hitch. Then, retract the tongue jack completely into its towing position. This is an easy step to overlook, so make it part of your routine so it’s the same for you every time you hitch.
Check Trailer Level
When connected and loaded appropriately, the trailer should sit level from front to rear.
If the front of the trailer is noticeably higher or lower than the rear, the hitch height may need to be adjusted.
Physically check the trailer level from front-to-rear then adjust the hitch height as necessary. Hitch-height adjustment involves specific hardware and torque requirements, including replacing the lock nuts rather than reusing them.
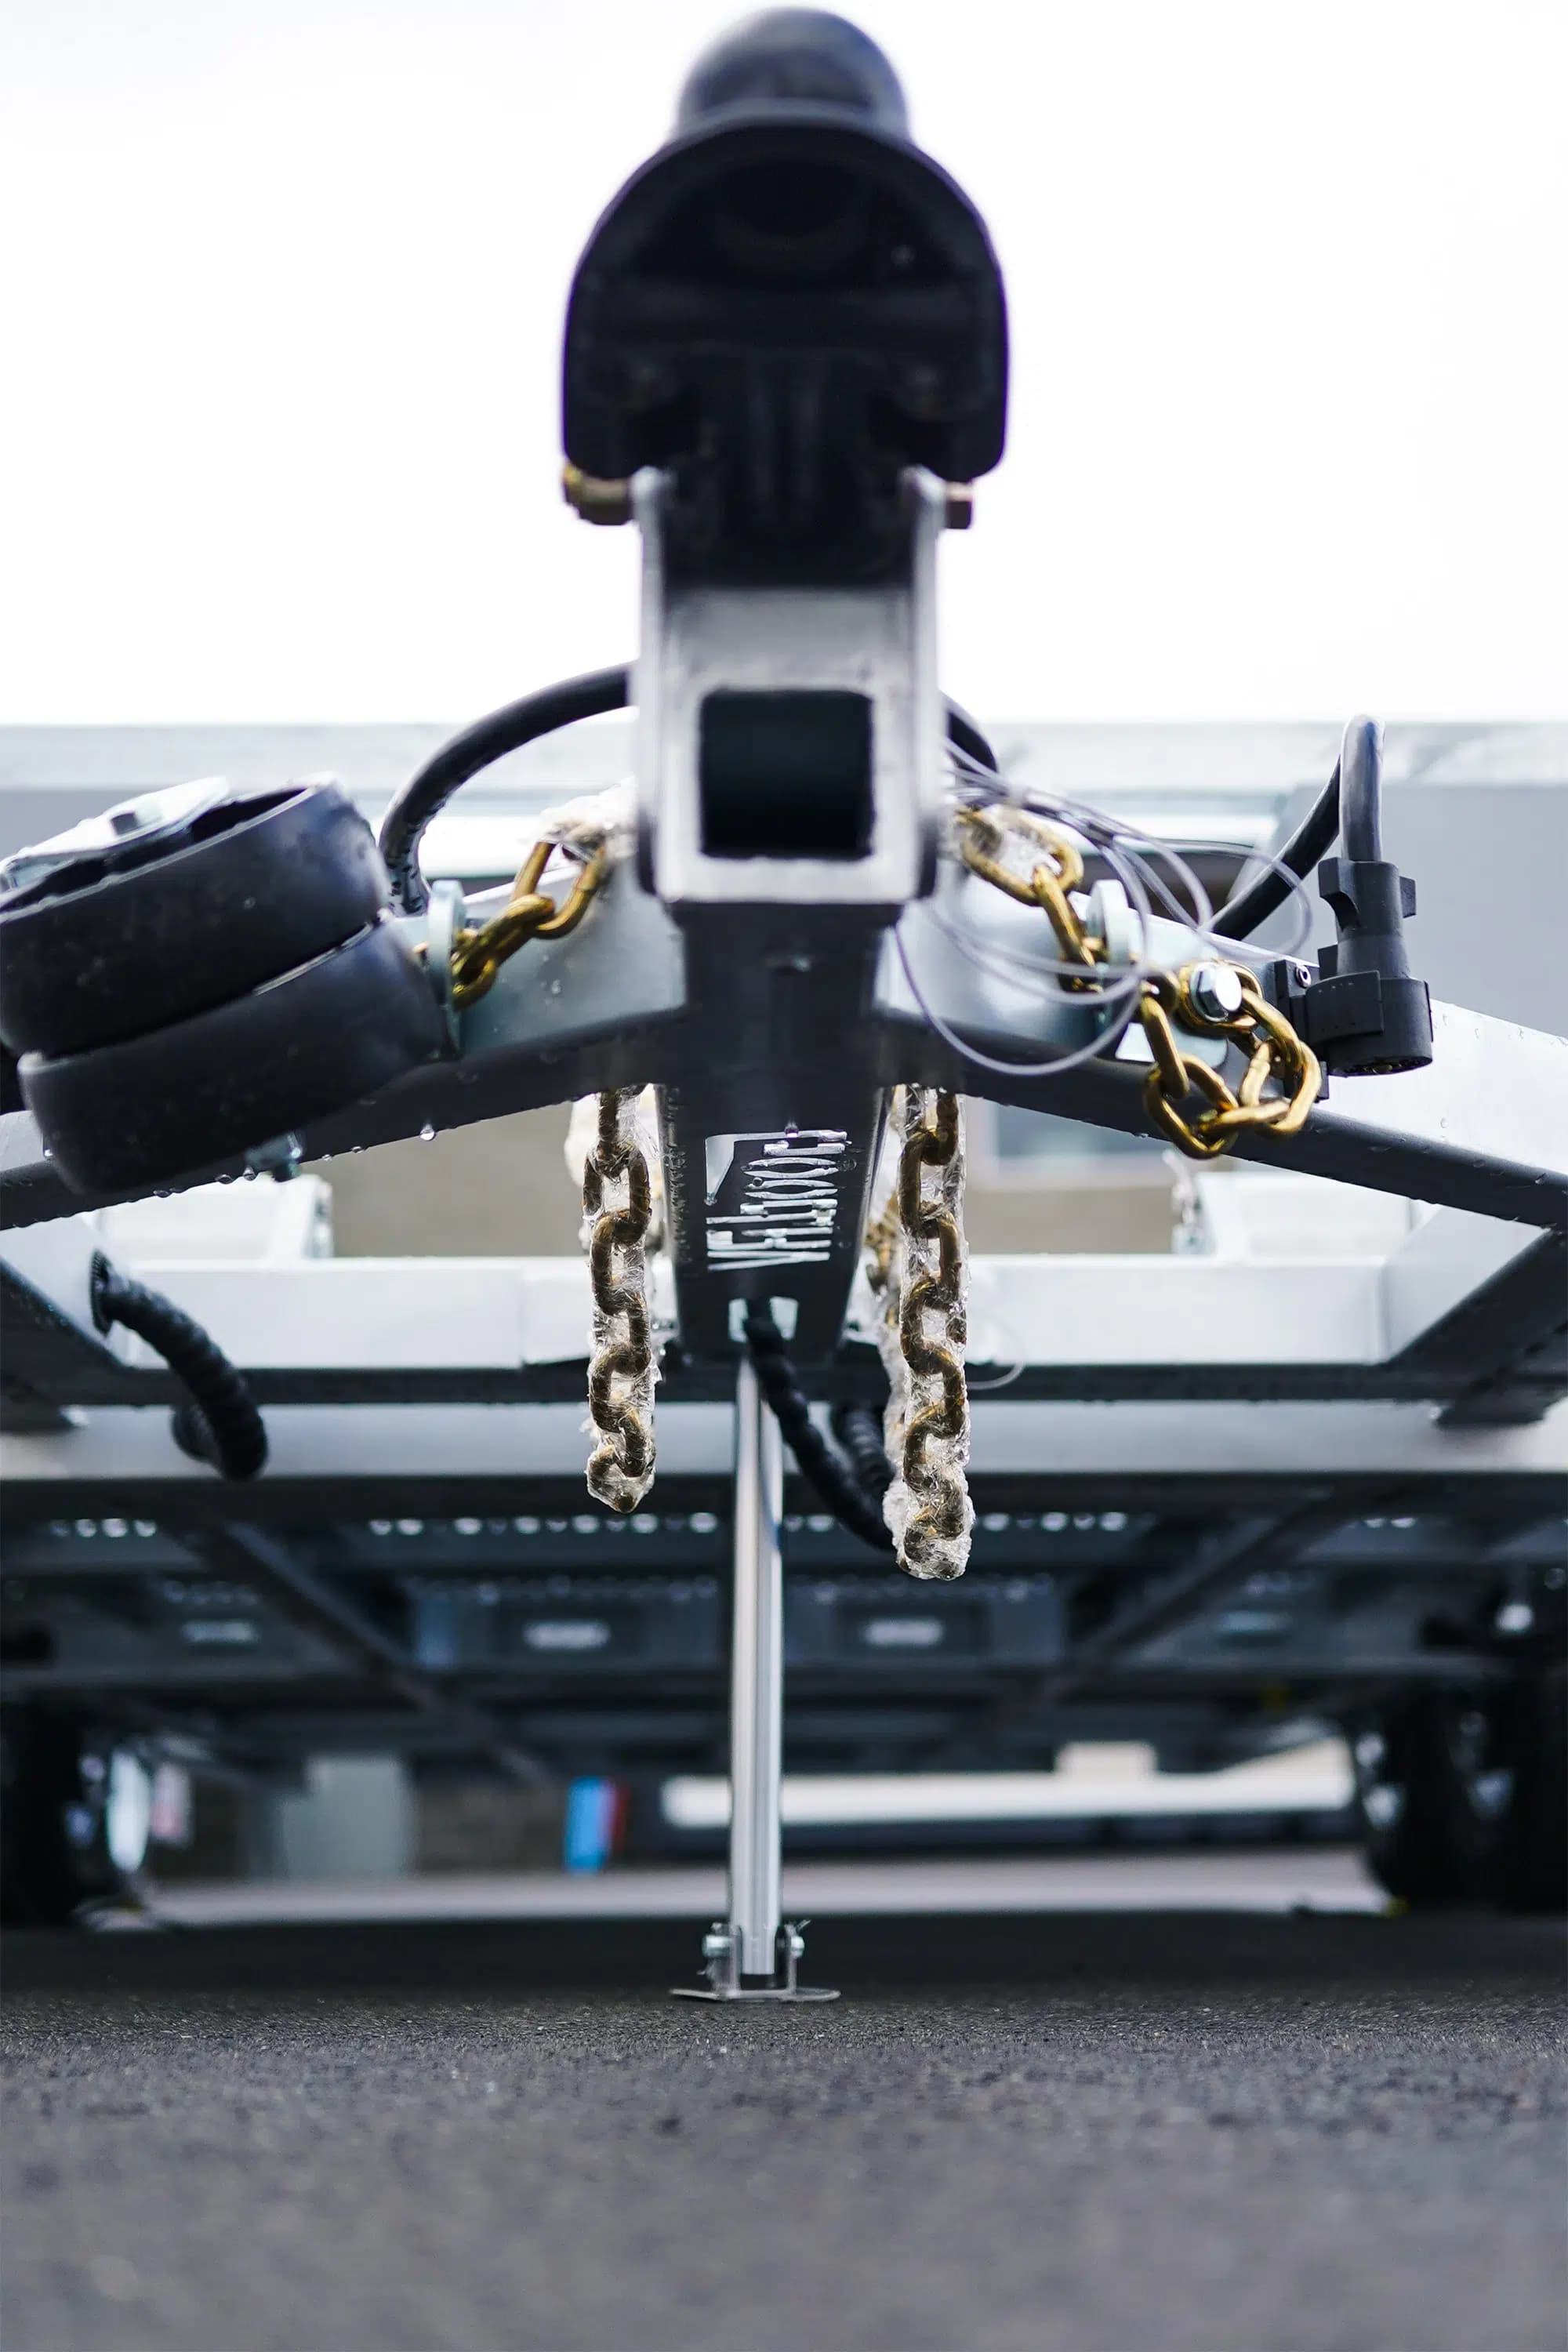
Connect the Safety Chains
Good Trailers use safety chains as a secondary connection between the trailer and tow vehicle.
Cross the chains underneath the coupler so they can help support the trailer tongue if the primary coupling separates.
Attach them to the tow-vehicle frame or to attachment points specifically designed for safety chains. Do not attach them to an interchangeable hitch component unless the hitch provides dedicated attachment holes or loops for that purpose.
Leave enough slack for the trailer to turn normally, but not so much that the chains can drag on the road.
Chain latches should be fully engaged.
Connect the Breakaway System
The breakaway system is separate from the safety chains.
If the trailer becomes disconnected from the tow vehicle, the breakaway system is designed to apply the trailer brakes when its pull pin is removed.
Connect the breakaway lanyard independently to the tow vehicle.
Do not attach the breakaway cable to:
- A safety chain
- The hitch ball
- The hitch-ball assembly
The lanyard should be routed so the breakaway pin will be pulled before all of the slack in the safety chains is taken up.
Always test your breakaway system before towing.
Connect the 7-Pin Electrical Connector
Connect the trailer’s electrical plug to the tow vehicle’s 7-pin connector.
This connection supplies the trailer’s road-lighting circuits and, where equipped, allows the tow vehicle’s brake controller to operate the trailer’s electric brakes.
After connecting it, check:
- Running and clearance lights
- Brake lights
- Left and right turn signals
- Trailer-brake operation
Do not assume that because the plug is connected, every circuit is working.
Test the Lights & Trailer Brakes
Have someone observe the trailer lights, or use another reliable way to confirm their operation.
Check the running lights, brake lights, and both turn signals.
Then verify trailer-brake operation using the tow vehicle’s brake controller.
Final Pre-Tow Checklist
Before pulling away, walk around the complete trailer one more time.
Check:
- Tires, wheels, and lug nuts checked
- Tire pressure checked
- Coupler fully seated, secured, and locked
- Folding-tongue pins and locking hardware in place
- Safety chains crossed and properly attached
- Breakaway cable properly attached to the tow vehicle
- Running lights, brake lights, and turn signals tested
- Trailer brakes testedCargo properly loaded, balanced, and secured
- Tongue weight and weight distribution appropriate for the load
- Doors, gates, and ramps closed and secured
- Hydraulic suspension fully raised
- Hydraulic remote controller stowed
- Tongue and stabilizer jacks fully retracted
You should also carry appropriate emergency equipment like fire extinguishers, flares, and reflectors.
That might sound like a long checklist the first few times.
After a little experience, it becomes a walk-around routine.
First Tow Notes for a New Trailer
If you’re hooking up Good Trailers and hitting the road for the first time, you’ll want to put a couple of additional maintenance checks on your calendar.
- Wheel lug nuts: first 10 miles
- Wheel lug nuts: first 25 miles
- Wheel lug nuts: first 50 miles
- Brake-shoe adjustment: first 200 miles
These checks are easy to forget when you’re excited to start using the trailer, so plan them before you plan your first trip.
Check your owner’s manual for other maintenance dates.
Driving with Your Good Trailer
Once the trailer is connected correctly, remember that towing changes the way the tow vehicle handles.
You need more room to turn, more space to stop, and more awareness of the trailer’s width and length.
Backing also takes practice because the trailer initially moves opposite the direction the rear of the tow vehicle moves.
If you’re new to towing, an open parking area can be a useful place to practice low-speed turns and backing before dealing with a crowded jobsite or parking lot.
On a longer trip, you should stop after 50 miles or one hour to recheck the coupler, safety chains, cargo securement and, if you’re rocking an enclosed trailer, the cargo doors.
FAQ
Does it take two people to hook up a Good Trailer?
Not necessarily. A spotter can be useful when visibility is limited, and a rearview or hitch camera can also make alignment easier.
Regardless of how you align the vehicle, the driver remains responsible for confirming the coupler is properly seated and locked and that all remaining safety connections have been completed.
What’s different about loading Good Trailers?
It’s mostly like any other trailer, except you’ve got the hydraulic drop deck system. You should make sure the trailer is raised to its full height and that your toggle clamps are down and locked.
Key Takeaways
The TL;DR on hooking up Good Trailers:
- Hooking up Good Trailers starts with matching the tow vehicle, hitch, hitch ball, and trailer ratings.
- Confirm the hitch ball matches the coupler and inspect the towing hardware before coupling.
- Lower and secure the folding tow bar before towing, with its pins and locking cotter pins installed.
- Lock the coupler onto the hitch ball and verify the connection with the tongue jack.
- Cross the safety chains underneath the coupler and leave enough slack for normal turning without allowing them to drag.
- Attach the breakaway lanyard independently from the safety chains and hitch ball.
- Connect the 7-pin electrical plug, then test the trailer lights and electric brakes.
- Before towing, confirm the hydraulic suspension is fully raised, the remote is stored, the jack is retracted, and all cargo, doors, gates, and ramps are secured.
Need more tips? Check out Trailer Safety Week by NATM!
Need More Help?
Check out our Resource Center, or contact us.
This resource was compiled by the GoodMFG® Product Team, drawing on 75 years of combined experience in hydraulic systems, heavy-duty transport, trailers, and modular structures.
P.S. – We build trailers every day, but we don’t run your crews. If there’s a specific logistical headache or a “field reality” we’ve missed, we want to hear about it. Help us refine the equipment that makes your day easier! Email our Marketing Lead at devan-h @ goodrv.com and let us know what we should solve next.